
Introduction
You probably have a proud aloe plant on your windowsill if you are a houseplant lover. It is popular in many American homes because of its low care requirements, calming gel, and manicured leaves. Even the simplest plants ultimately require a bit more space to flourish. If you are wondering how do you repot aloe plants, here is the method you need to know.
Aloe is not the only thing you are repotting, and you are also giving it a new environment that is most suitable for root and leaf growth, hence keeping the plant healthy.
This comprehensive manual will teach you to treat your aloe in such a way that it is always content and growing, when to repot, which soil and pots to use, and the whole process step by step.
What Are the Symptoms That Aloe Should Be Transplanted?
The most favorable season for repotting aloe is spring or early summer when it is growing very well. Your aloe may demonstrate the following signs of being in need of a new place:
- Roots emerging through perforations for drainage
- Too much drying out of the soil
- The plant is leaning and getting top-heavy.
- Yellowing leaves or slow growth
Usually, the intervals for Aloe plant deals are every 2 to 3 years. In case your plant gets bigger than the pot or the soil becomes too hard, then the pot and the mix should be changed at the same time.
Right Pot for Aloe
Choosing to repot the aloe plants, the first thing to rule out is selecting the right pot. Aloe likes to have good drainage, so pick a terracotta or clay pot with a large drainage hole at the bottom and a big hole for its drainage.
The following are the things you need to keep an eye on:
- Size: A pot that is 1-2 inches larger than the pot it is currently in should be chosen.
- Shape: The most suitable alternative is a container that is not deep and wide because the root system of aloe plants grows laterally rather than vertically.
Always opt for non-draining decorative pots; they retain moisture and smother the roots in no time.
Aloe’s Soil Mix That Is Perfect
The roots need the right soil to be healthy. A typical potting mix is very compact, so opt for a soil mix for succulents or cacti instead.
To prepare your own, mix:
- 2 parts sandy soil or cactus mix
- 1 part pumice or perlite
- A tiny scoop of compost for nutrition is optional.
This mixture keeps enough moisture to maintain the roots’ vitality while draining rapidly. The key to how do you repot aloe plants is always ensuring air circulation around the roots.
Step-by-Step: How Do You Repot Aloe Plants

Below is a method that is not only quick but also very easy for the secure repotting of your aloe:
1. Prepare the New Pot.
The soil mix that you have prepared should be poured into the new container, filling it up to one-third only. Gently tap it down and leave a space for the plant to go in.
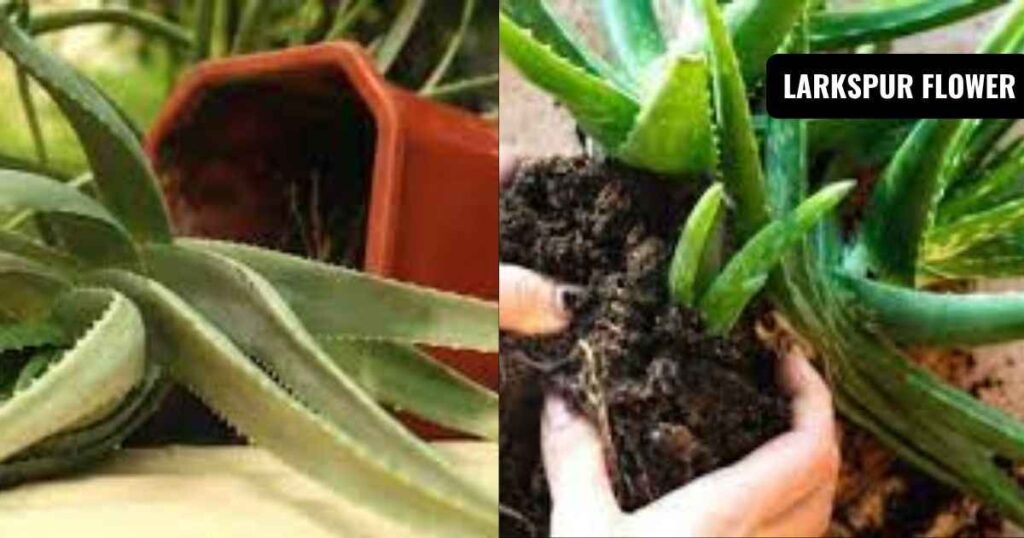
2. Remove the Aloe Plant from Its Old Pot
Hold the container sideways and very gently take off the plant. If the plant is stuck, use a knife to make an incision around the inner edge, or you may also tap the walls. Use your hand to prevent the plant from breaking by holding the base.
3. Inspect and Clean the Roots
First, observe the roots and remove the remaining soil. Cut the diseased, dry, discolored parts, if any. To prevent any infection, keep those roots for some hours to dry before putting them back into the ground.
4. Re-potting of Aloe
The aloe plant should be positioned in the new pot such that the root ball is centered and the plant is straight. New dirt has to be pressed firmly around it, yet a space of about an inch or so should be left at the top for watering.
The earth must not be shaken down hard; only a soft pat is enough.
5. Watering Should Be Done Sparingly
Do not give water to the plant for 3-5 days after the repotting. This will help the roots heal. At the end of its wait, soak it well, seeing that the excess water is completely drained out.
Where to Place Your Repotted Aloe
A window facing south or west would be a good choice location in the living room.
If the plant is changed to another pot, avoid giving it direct light for a week or two, as the leaves are soft and can get burned. Then, slowly over the next week or two, increase the light exposure.
Aloe Repotting Hazards and How to Avoid Them
Plant care, even for professionals, includes making mistakes. Below are the main ones that should be avoided:
- Overwatering: If the plant’s roots, which absorb water, are totally submerged in water, they will ultimately be choked.
- Wrong soil: The roots will be infected if the soil is thick and retains all the moisture.
- Planting too deep: Let the lower sides of the leaves breathe so that rotting will not occur.
- Not considering damaged roots: Whenever you replant, ensure you first remove the dead or rotten roots.
Following these precautions and avoiding the mistakes will not only make your aloe a little tougher through the whole process but also keep it forced to adapt to the new environment.
Caring for Aloe After Repotting
Your aloe needs some attention in order to acclimate after repotting:
- Light: For a few days, keep in partial sunshine.
- Water: Allow watering after drying the ground.
- Fertilizer: Apply fertilizer once a month in the summer and wait for one month before giving food again.
Your aloe is dropping leaves because of the repotting, which is a normal reaction. Don’t be concerned. In a few weeks, it will have grown firmer, greener leaves.
Benefits of Repotting Aloe Regularly
Repotting your plant enhances its general health in addition to revitalizing its surroundings. You are assisting your aloe plant. When you know how do you repot aloe plants:
- Grow more robust roots
- More effectively absorb water
- Generate fresh aloe puppies.
- Steer clear of health problems and insects.
An aloe plant could take years to be correctly repotted while being rewarded with the production of beautiful and colorful leaves laden with the calming gel for burns, skincare, and other uses.
Conclusion: How Do You Repot Aloe Plants
Knowing how do you repot aloe plants may make all the difference between a plant that is failing and one that is flourishing. You can provide your aloe with the room and strong roots it needs to thrive by using suitable soil, container, and handling techniques. Care and a little time go a long way. Your aloe will be tall, colorful, and prepared to bring peaceful, green energy into your house before you realize it. This is evidence that a new beginning can result in the best growth possible.