
One of the most satisfying and cost-effective methods to expand your indoor garden and save money is to learn how to propagate spider plants (Chlorophytum comosum).They are famous for their air-purifying qualities and gracefully arching leaves. They also naturally give birth to pups, which are tiny progeny that are simple to combine into new, healthy plants. An older mother plant may be shared with friends, revived, or added to your collection with the right circumstances and easy processes. This article will guide you through practical, scientifically validated methods to ensure successful replication every single time.
How to Propagate Spider Plant: A Never-Fail Guide for Chlorophytum comosum
How to propagate spider plant: Timing, tools, and preparation
Best time to propagate a spider plant
How to propagate spider plant successfully depends on timing. The best seasons are spring and summer, when growth is rapid. Longer sunshine hours and warm temperatures encourage strong root development, helping pups establish faster. While propagation is possible year-round, limited light and colder winter temperatures can slow progress.
Tools you need
Despite the ease of propagation, having the right tools helps save time and prevent mistakes. A pair of tidy, sharp scissors or pruning shears, fresh potting mix, a small pot with drainage holes, and, if preferred, a clear jar for water roots are needed. A small amount of rooting hormone can help speed up the process, but spider plants often root without it.
Choosing the right spider plant pups

Not all plantlets are prepared for propagation. Look for puppies with little root nubs starting to grow at the base and at least four to six healthy leaves. These signs suggest that the puppy is old enough to establish itself independently. Weak, small, and yellowish leaf offshoots should not be selected for propagation.
Sterilization of tools
Always sanitize your instruments before making the initial cut. A mild bleach solution can prevent rot and disease.
Where to cut spider plant babies
Spider plants produce stolons, which are long, arching stems, and at the ends of these stems are tiny baby plants known as pups or spiderettes. Look for the healthiest pups when deciding which to multiply; they should have at least four to six firm, green leaves and already have little white root nubs. Any offsets that are still very little, mushy, or turning yellow should be skipped over since they are weaker and might not be able to develop into robust, independent plants.
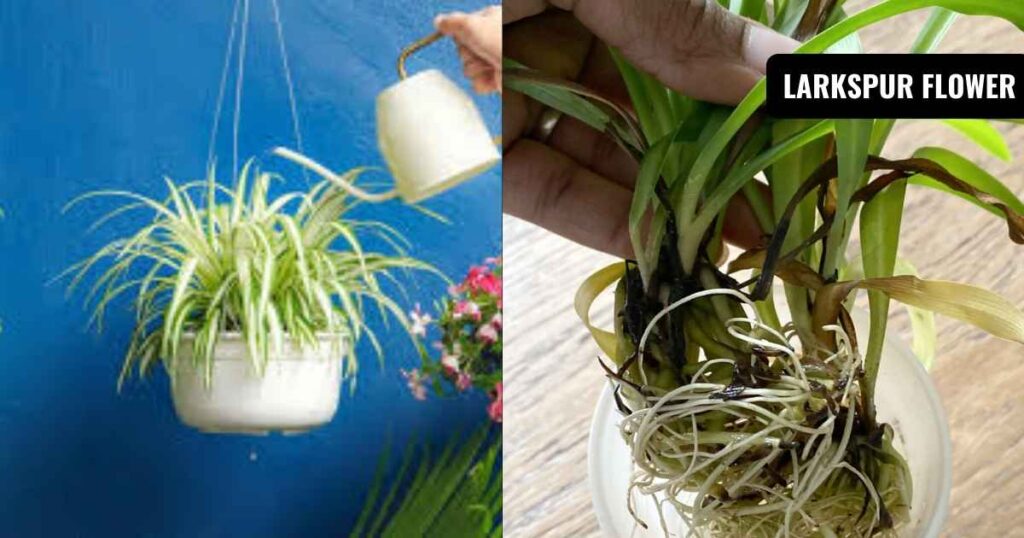
How to propagate spider plant in water
Watering the roots is one of the simplest and most fruitful methods for growing spider plants. You can see the roots grow daily by keeping the young plantlet in a jar of water. This approach adds interest to the process and boosts your confidence, particularly if you’re a novice and want to observe measurable growth before planting the pup in soil.
Steps
Choose a healthy pup.
Choose a newborn plant with robust, green leaves and obvious root nubs.
Keep it attached
For added support, you can keep the pup attached to the mother plant until the roots are 1-2 inches long.
Use the jar
Pour low-mineral, room-temperature water into a transparent container. If tap water contains fluoride or chlorine, use filtered or rainwater.
Dip carefully
Keep the leaves dry and dip the root nubs in water to prevent rot.
Light and temperature
Place between 65°F and 80°F in bright, indirect light.
Refresh regularly
To maintain fresh, oxygen-rich water, change it every three to four days.
Time needed for transplantation
Move the pup into the soil, gently press it down, and water it to settle once the roots are between two and three inches long.
Rooting timeline
In warm, sunny situations, most cuttings take 7–14 days to develop roots.
How to propagate spider plant in soil
Soil rooting allows your spider plant pup to adapt to its new environment immediately, which gives it an advantage. The infant doesn’t need to be moved later since its roots grow directly in the ground, reducing the risk of transplant shock and expediting the adjustment period.
Steps
Choose the right pot.
Fill a 4–6 inch container with a light, airy soil mix, and ensure drainage.
Cut and plant the pup.
Cut slightly below the rosette to prevent rot, and plant the crown at soil level rather than burying it.
Use of rooting hormone
Shake off any excess root hormone after dipping the nubs in it.
Watering
Keep the soil wet but not waterlogged by uniformly moistening it.
Staking
Use a little stake, such as a chopstick, to secure the puppy if it seems unsteady.
Temperature and light
Make sure that the temperature range of 65 to 80 degrees Fahrenheit and the lighting is bright and indirect.
Monitor new growth
Within two or three weeks, fresh leaves indicate that your new plant has successfully rooted.
How to propagate spider plant from a leaf
Unlike some houseplants, spider plants cannot be multiplied from single leaves. A leaf by itself cannot become a plant or sprout new roots. A spider plant pup is the tiny baby rosette that requires the mother plant’s stolon to grow and is necessary for successful propagation. The root nubs and growth points needed to mature into a vigorous new plant are already present in pups.
Spider plant care
Light: To maintain the sharpness of the leaf variegation, place in bright, indirect light. The afternoon light may scorch the foliage.
Feeding: After 4–6 weeks, feed monthly using a balanced, low-salt fertilizer at ¼–½ strength. A surplus of fertilizer may result in floppy, feeble growth.
Potting up: When growth slows or the roots begin to circle the pot, repot into a container that is just one size larger.
The quality of water: If your tap water contains excessive sodium, chlorine, or fluoride, it may cause brown leaf tips. For healthier plants, use distilled, filtered, or rainwater.
Conclusion
Understanding how to propagate spider plant is straightforward and highly gratifying. With just a little care, those little plantlets may rapidly blossom into robust new plants that liven up your house or make great gifts for friends. Whether you select water rooting for the thrill of seeing roots emerge or soil rooting for faster establishment, both approaches provide a solid option to extend your green area. Following these basic rules will keep your mother plant healthy while growing an ongoing cycle of new, vivid spider plants.
FAQs: How to propagate spider plant
What is the easiest way to propagate a spider plant?
The simplest method of multiplying your plants is to propagate a spider plant in soil.
Should I cut the babies off my spider plant?
Absolutely, but it’s up to you. If you want new plants, that’s fine. It is preferable to keep the mother plant if you don’t need any new ones.
Can I propagate a spider plant from just a leaf?
No. Propagating a spider plant requires a plantlet or a division with a crown.