
You are at the correct place if you have ever wondered how to dry dill while maintaining its flavor and fresh scent. When dill is properly dried, its subtle scent is preserved, allowing you to savor the taste of fresh herbs months later. Understanding the proper methods will guarantee that your dried dill keeps its taste and doesn’t get moldy or bitter since dill is particularly sensitive to heat and moisture. I will show you tried-and-true, simple techniques and advice in this article to make sure your dried dill is bright, strong, and prepared for your favorite recipes. For related information click here.
Why Dry Dill?
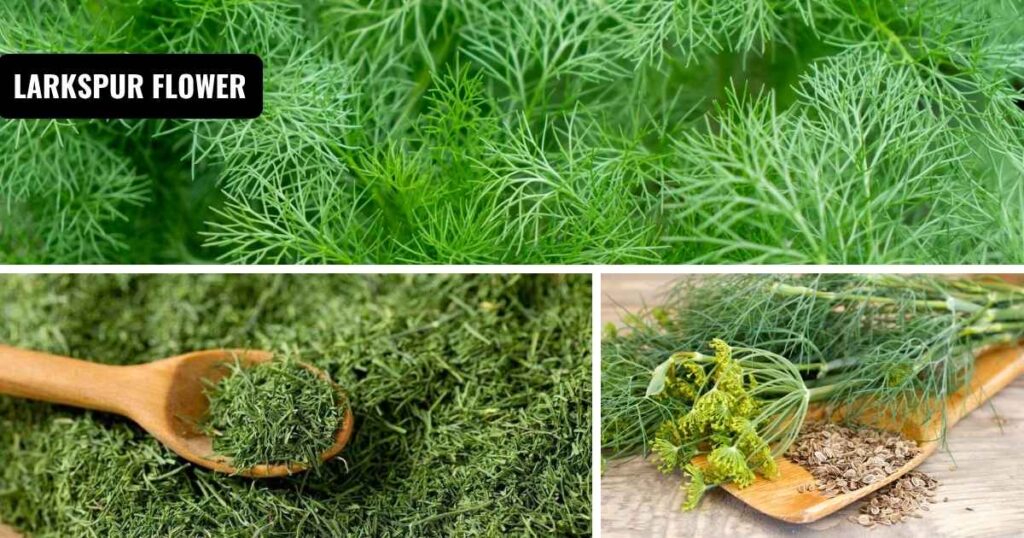
Dill is a fragrant plant that, once plucked, tends to lose its scent quickly. If treated properly, dried dill can still have a pleasing taste.
By drying, you can enjoy homegrown dill even during off-season months, preserve greater crops, and cut down on waste. Your dried dill will continue to smell and taste wonderful for six to twelve months if you follow the proper procedure.
Best Time to Harvest Dill for Drying
Timing is key to getting the most flavor out of your dried dill. Harvest early in the morning, before the sun is too strong, but after the dew has evaporated.
Additionally, harvest the dill before it blooms, as the leafy taste diminishes once it bolts.
For optimal effects, use lively, healthy green stems.
Methods for How to Dry Dill
Choose the method that best suits your time and equipment from these four tried-and-true methods for drying dill.
- Air Drying (Best for Small Batches)
- Use rubber bands or string to secure little bunches of dill stalks together.
- In a dry, warm, well-ventilated area away from direct sunshine, hang them upside down.
- For complete drying, allow 7-14 days.
- When the leaves are crisp and crumble readily in your fingers, the dill is ready.
- Dehydrator Method
- On the dehydrator trays, arrange the dill sprigs in a single layer, making sure not to overlap.
- Maintain the dehydrator at around 95°F (35°C).
- Check often till crisp, and let it dry for 4 to 6 hours.
- Oven Drying
- Use the “warm” option or preheat the oven to its lowest setting, which is often 200°F or below.
- Place a baking sheet with paper and equally distribute the dill.
- To increase ventilation, you can leave the oven door slightly open.
- Dry for 25 to 60 minutes (or check after 25 minutes at 15-minute intervals).
- Microwave Drying (Quickest for Small Amounts)
- On a microwave-safe dish, place the dill between two paper towels.
- Cook the dill in the microwave on high for 30 seconds at a time until it crisps.
- Keep an eye out since it might burn rapidly.
How to Dry Dill: Tips to Ensure Success

- Before beginning, always give the dill a gentle wash and pat dry. Mold is a result of moisture.
- Use healthy, fresh herbs; cut off any damaged or yellowed leaves.
- Allow ventilation and avoid packing trays or hanging bundles too full.
- Maintain modest temperatures since excessive heat ruins color and aromatics.
- Crumble the leaves off the stems once they have dried, then store them in opaque, airtight jars in a cold, dark location.
- For optimal flavor, use within six to twelve months.
How to Use Dried Dill
A small amount of dried dill goes a long way because it is concentrated. It can be used in potato salads, pickling brines, dressings, soups, and more. Certain cuisines explicitly demand the leafy component of dill weed.
Before usage, rehydrate by steeping for a short time or adding to hot liquids.
How to Dry Dill: Common Mistakes and How to Avoid Them
- A bitter taste and loss of scent result from drying too quickly or at high temperatures.
- Bottles that are packed too quickly can deteriorate due to leftover moisture.
- Using clear containers: taste is harmed by light.
- Harvesting after flowering results in a lesser yield and a weaker scent
Conclusion
Learning how to dry dill is a rewarding way to preserve your garden’s bounty. Low heat, enough ventilation, and patience are essential whether you decide to use the oven, dehydrator, microwave, or air-drying methods. When properly prepared, your dried dill will retain its flavor and scent, allowing you to savor its crisp, herbaceous flavor throughout the year.
Try one of these techniques, and you’ll quickly question why you ever purchased store-bought dill. Have fun drying!
FAQs: How to dry dill
Can you freeze dill instead of drying it?
Yes, flavor and color are effectively preserved by freezing. Store the chopped dill in sealed bags after making it in ice cube trays with water or oil.
Does dried dill taste as good as fresh?
Fresh is still more aromatic, but properly dried dill retains a pleasant flavor and is much better than store-bought herbs.
Which method is best for beginners?
Air-drying is the easiest-minimal equipment and low risk. For faster results, a dehydrator is ideal.
How long does dried dill last?
Stored properly, dried dill remains flavorful for 6 to 12 months- sometimes up to a year.
Can you dry both leaves and stems?
Yes, but stems are woody. It’s best to dry whole sprigs, then crumble off the leaves for use.