
Introduction
You are wondering how to cure onions to extend their shelf life if you have harvested a lot from your garden. One of the most crucial processes after harvesting onions is curing them, which keeps them firm and edible for months while also preserving flavor and preventing rot. Let’s go over how to accomplish it step-by-step.
Why Curing Onions Matters: How to Cure Onions
Understanding why curing is important is crucial before beginning the stages. Onions that have just been picked have a high moisture content. Mold, sprouting, or soft patches can result from the moisture if it is not addressed right away. Curing onions prolongs their shelf life and improves their flavor by sealing the neck and toughening the outer peel.
When stored properly, cured onions can survive up to eight months, which is a huge benefit for any home grower.
Step 1: Choose the Right Time to Harvest
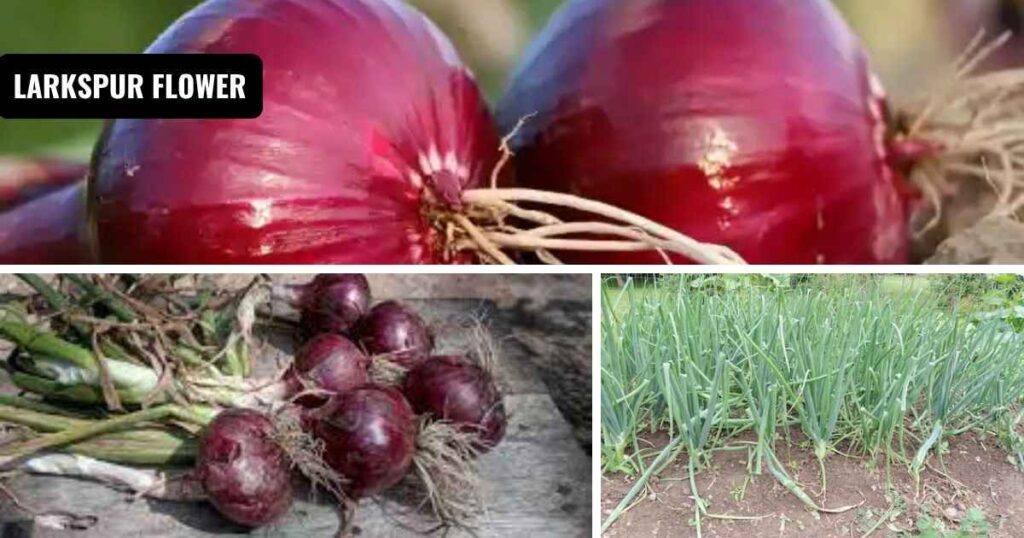
It’s all about timing. Don’t begin curing until your onions are fully grown. Harvesting should begin after 50-70% of the onion tops have fallen over and become yellow. Overripe onions might split or rot, so don’t wait too long.
Please don’t wash them since the moisture slows down the curing process. Instead, gently remove them from the soil and brush off any extra dirt.
Step 2: Pick the Perfect Place for Curing
Onions cure best in a warm, dry, and well-ventilated atmosphere. The following are ideal circumstances:
- Temperature range: 24–29°C (75–85°F)
- Humidity: between 50 and 60%
- Aeration: Strong ventilation is necessary to avoid mold.
A lot of American gardeners cure their plants in garages, porches, barns, or shady patios. A fan can assist in providing steady ventilation if you are curing inside.
Step 3: Spread Them Out Evenly
Arrange your onions in a single layer on a clean tarp, mesh rack, or screen. Make sure they stay apart from one another. Crowding can lead to deterioration by retaining moisture. To guarantee uniform drying, carefully rotate the bulbs every few days.
Use a lightweight tarp or cover to shield the onions from harsh sunshine and sudden downpours if you’re curing them outside.
Step 4: Be Patient, It Takes Time
Curing onions takes time and effort. Onions may require two to three weeks to cure completely, depending on temperature and humidity levels.
When will you know they are ready?
- The necks are snug and very dry.
- The outer skins rustle and are papery.
- The bulbs have a smooth, solid feel.
The most satisfying aspect of curing onions is this step; your perseverance will result in a product that is tasty and lasts for a long time.
Step 5: Trim and Clean Properly
After the onion has cured, remove the roots and cut the tops approximately 1 inch above the bulb. Any flaky outer skins can also be gently rubbed off, but avoid removing too much, as those layers serve as a natural barrier of protection.
Onions, especially smaller ones, can be braided and hung in a cool, dry location if you’d like. It’s attractive as well as useful!
Step 6: Store Smartly for Long-Term Freshness
The key to making all of your healing efforts worthwhile is proper storage. For optimal outcomes:
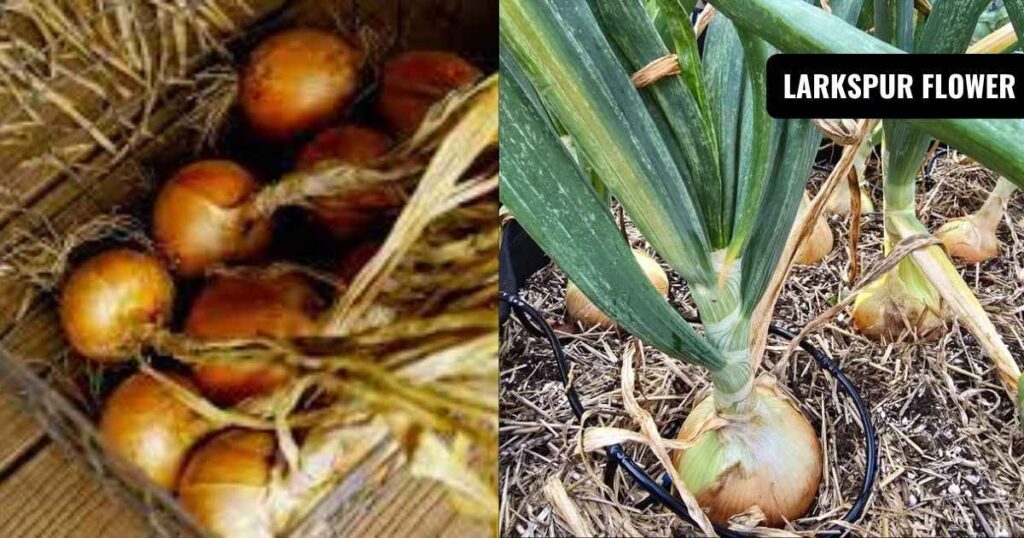
- To allow for ventilation, store onions in baskets, crates, or mesh bags.
- Keep in a dry, dark, and cold place (such as a pantry or basement) at a temperature between 32 and 40°F.
- Steer clear of plastic bags since they retain moisture and lead to decomposition.
While spicy types, such as yellow onions, can last up to eight months, sweet onions have a lower shelf life, often lasting one to two months.
Step 7: Check Regularly and Rotate Stock
Onions require occasional attention even after they have been cured and stored. Check for mold or soft patches every several weeks. One rotting onion may destroy the entire batch, so get rid of any that seem suspect.
Your onions will remain tasty, crisp, and fresh throughout the winter if you follow these care instructions.
Common Mistakes to Avoid: How to Cure Onions
Sometimes, cure errors are made by even experienced gardeners. Here are a few to watch out for:
- Onions should be cleaned before curing since this adds more moisture.
- When bulbs are stacked too closely together, ventilation is decreased.
- Rot or mold might result from storing before it has completely healed.
- Ignoring temperature control, sprouting can result from heat fluctuations.
You can make sure your onions cure completely and last a lot longer by avoiding these.
Conclusion: How to Cure Onions
Learning how to cure onions is one of the simplest yet most rewarding gardening skills. Fresh, homegrown onions can be enjoyed throughout the year with the correct conditions, perseverance, and attention to detail.
Properly cured onions can improve the flavor of your meals and increase the value of your garden harvests, whether you’re keeping them for your favorite American BBQ dishes or winter soups.
FAQs About How to Cure Onions
Can I cure onions in an air-conditioned room?
Yes, but ensure there’s still good airflow. You may need a fan to prevent humidity buildup.
Should I remove the onion tops before curing?
No, keep them attached. They help draw moisture away from the bulb during curing.
Can you cure onions after washing them?
It’s best not to wash. Brush off dirt to prevent mold during drying.
How do I know if onions are over-cured?
If the skins become too brittle or start flaking excessively, they may be slightly over-cured, still edible, but handled gently.
Can I cure green onions the same way?
No, green onions are best stored fresh or refrigerated, not cured.